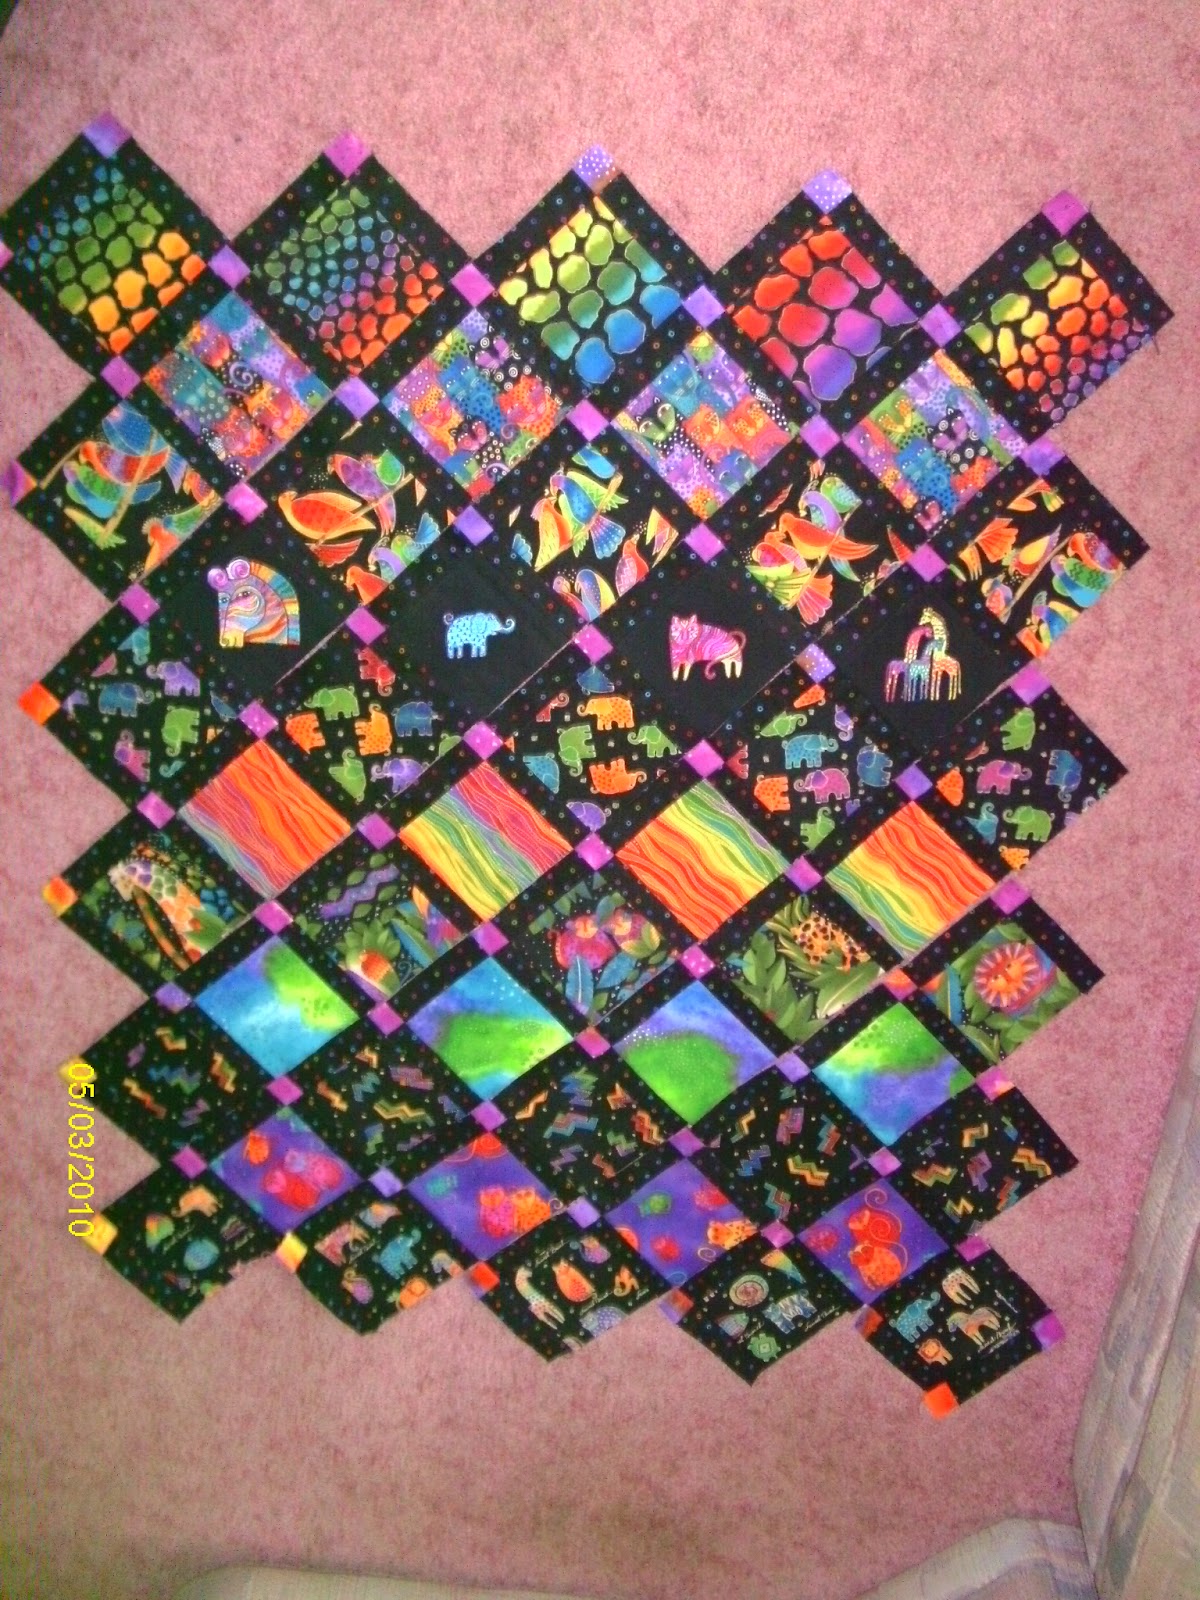
My Laurel Burch Junglesong flannel version quilt pieces all chopped up and ready to go.
First step, sew the strip sets together.
I chop up the strip sets, into strips.
The assorted strips get sewn onto squares. As i was cutting the animal fabrics up into the 5.5" squares, i also cut 2.5" sections, to sew together for the binding.
I added some embroidered squares in amongst the animal squares, using the Laurel Burch Embroidery card.
I had a huge problem figuring out how to get them to be on-point. I had to redo several, 2 because they came out puckery ( failure at correct hooping ;( ) and 2, I cut them square and not diagonal. :(
Those are for another project.
WA LA! On-point!!
OK, this picture was taken and rotated to be upside down.
I couldn't get all the rows into the picture, by standing on the couch. I had to use a chair, and had already laid out the rows. Plus, I have the rows too close together, i should have left some room between. The rows go diagonally, with the first row and last having 1 block. Row 2 and 9 having 3 blocks, row 3 and 8 having 5 blocks. Before the rows can be sewn together, I have to sew triangles to most of the ends of the rows.
Most of the rows are sewn together, leaving the two halves ready to go !!
The two halves sewn together, and first border ready to go on.
The first outer border on, and ready for the second border.
The animal strip fabric for the outer border. I need a 5.5" cut.
Hopefully, I can salvage the other rows for another project.
The giraffe and elephant strips I need. The monkey rows i can use for a later project.
Change in plan. Originally, I wasn't going to do embroideries for the outer corners.
But I changed my mind, and wanted different ones, then the ones I had messed up earlier.
QUILT TOP COMPLETE!!
This is the backing fabric. I had to sew three pieces together. :(
I should have bought 6 yards, instead of one 3 yard piece, and 2- one yard pieces.
On the quilting machine.
BEAUTIFUL job !
The binding sections all ready to sew togther.
The binding is on. Now I need to square up the corners, making sure the edges are straight.
HMMM? wing it. I can now cut the extra batting and backing off.
Love the swirls !
DONE !! Well, when I get some printer fabric I need to do a label. On the other quilts, I sew two of the edges into the binding. But I forgot, it has been a while since I made one. Plus, I don't like to waste the printer fabric, and try to make several at the same time. I will have to look and see which older quilts I still need a label for.
I had to hand sew the rod pocket on. I forgot, and usually sew it on, as I sew on the binding, or into the binding. But this way, I can always remove it later. A rod pocket is needed, in order to hang it at shows.
Love the sun and rays!!
I used the Sweethearts from the Laurel Burch Christmas Embroidery card.
LOVE DEK